How to Upload to Icloud From Pc
In this commodity, we will talk near how to upload photos to iCloud from a PC running Windows.
There are several skilful reasons to use iCloud Photos . Starting time of all, it's safe : no demand to worry whether all twenty pictures of your new puppy eating his breakfast from 10 unlike angles are stored carefully in a cloud. The 2d reason is that it's very convenient : you but demand to remember your Apple ID credentials to admission all your pictures from any device.
What if your phone breaks and PC goes downwardly? What if you decide to never come dorsum home after work and get to Maldives and take fun on a beach for the rest of your life? It's all set, your pictures will even so exist with you.
Basically, y'all have three options to upload photos to iCloud:
- Upload photos using CopyTrans Cloudly
- Upload photos via iCloud for Windows
- Upload photos using iCloud.com
In the table below, yous can encounter the strengths and weaknesses of each option.
| CopyTrans Cloudly | iCloud.com | iCloud for Windows | |
| Uploading photos to iCloud | Yeah | Yes | Yes |
| Uploading .HEIC and .PNG files | Yes | No | No |
| Uploading videos to iCloud | Yes | No | No |
| Uploading .MOV, .MP4 and .M4V files | Yep | No | No |
| Uploading all photos | Uploads everything at once | Uploads merely 1000 items at a time | Uploads everything at once |
| Speed (depends on the internet connection speed) | 15-thirty minutes for every 5 GB | Eternity | i,five-3 hours for every v GB |
| Incremental upload and download of new photos (without creating duplicates) | Aye | No | No |
| Downloading all photos | Downloads everything at once | Downloads only 1000 items at a time | Downloads everything at once |
| Downloading originals | Aye | Yes | Not e'er |
| Deleting all photos | Deletes everything at once | Deletes simply 1000 items at a time | No |
| Preserving album structure | Yeah | No | No (downloads by year) |
| Retrieving permanently deleted photos | Yes | No | No |
Upload photos to iCloud
using CopyTrans Cloudly
If you got yourself an iPhone driven past its intuitive interface, you are going to like this: CopyTrans Cloudly is easy to navigate and tin can upload large amounts of information to iCloud in merely a couple of clicks. Besides, Cloudly is the only app to help yous out if you need to recover your permanently deleted photos.
💗 What do I gain past using CopyTrans Cloudly?
-
Retain the "engagement taken" stamp and other image metadata.
-
Upload HEIC, JPEG, PNG images to iCloud in great numbers.
-
Upload MOV, MP4, M4V videos to iCloud.
-
After you lot've uploaded your files to iCloud, you can move or delete them from the PC binder: they volition withal be available in iCloud.
Here is what you need to practice to backup photos to iCloud:
- Download CopyTrans Cloudly hither:
Download CopyTrans Cloudly
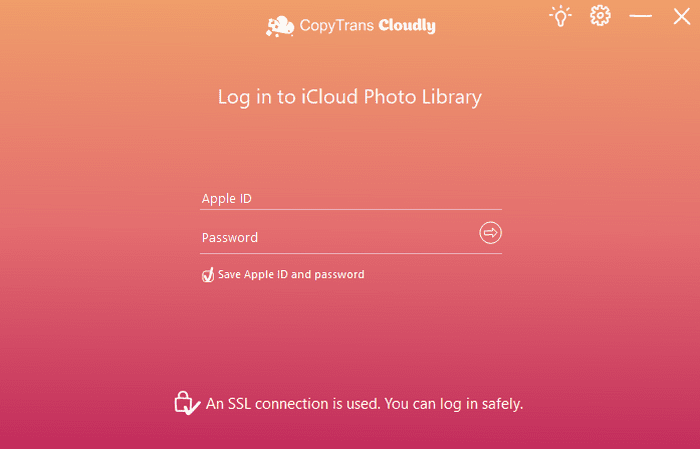
- Install and run the app. It will ask you to enter your iCloud credentials. We use SSL connection to substitution data with iCloud and guarantee 100% safety: you can read more about SSL connection on Wikipedia to make certain.
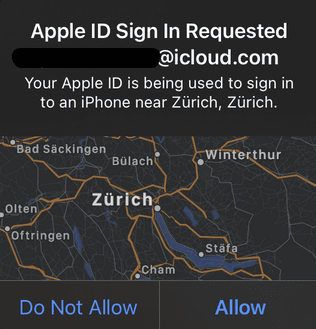
- If two-gene hallmark is enabled on your device, unlock it and press "Allow".
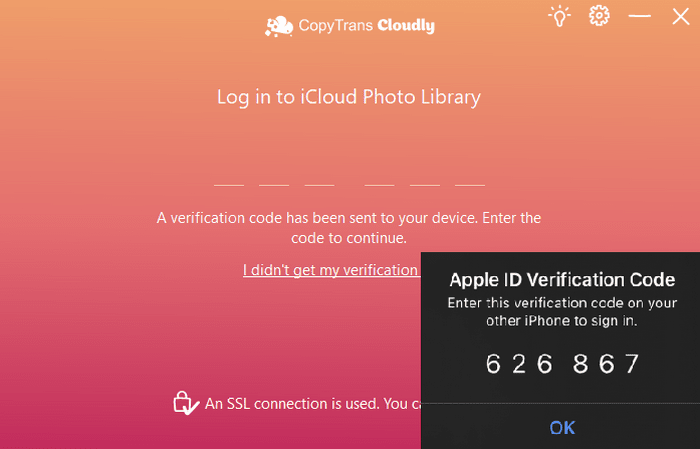
- Enter the verification code from your device.
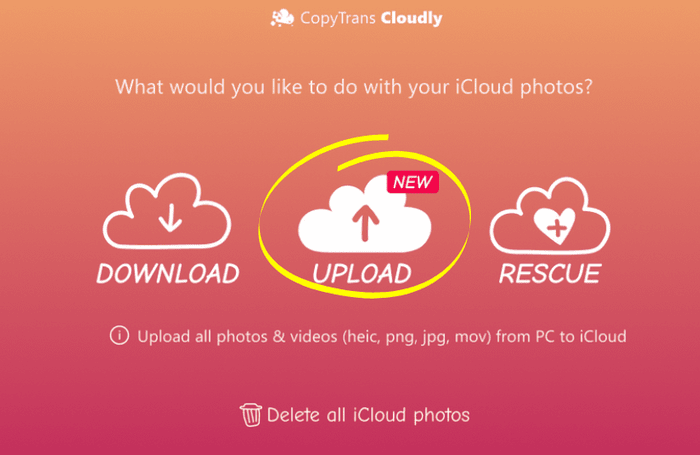
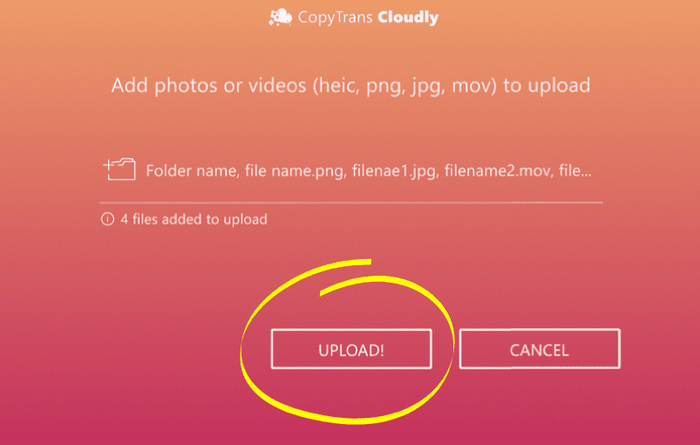
- Click on the "Upload" push.
- Select files you lot want to upload to iCloud. CopyTrans Cloudly works with .HEIC, .PNG and .JPEG images and .MOV, .MP4, .M4V video files.
- When everything is selected, click on the "Upload" push button.
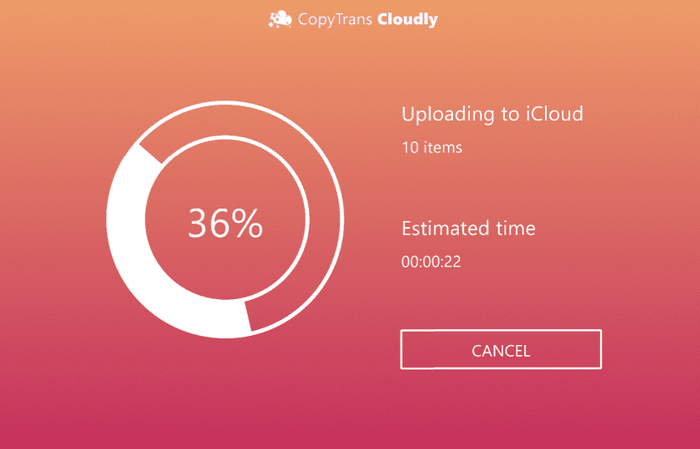
- Wait while CopyTrans Cloudly is doing the chore.
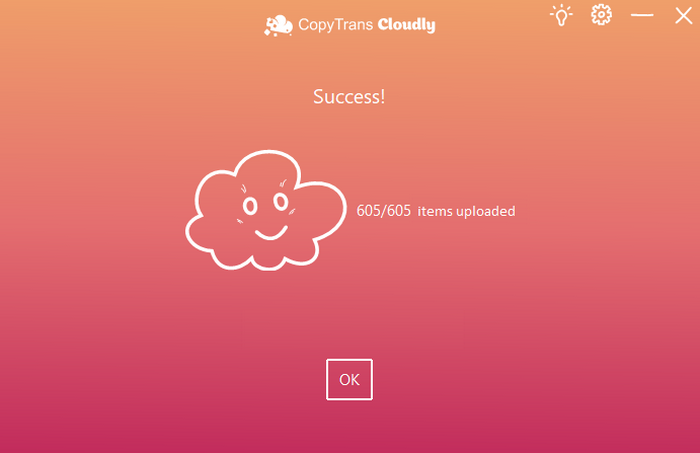
- All washed. Your photos joined the iCloud.
YouTube guide
CopyTrans Cloudly also can:
-
Rescue your permanently deleted photos from Apple servers.
-
Download all iCloud photos to PC in 1 become.
-
Delete all iCloud photos if necessary.
❤ We currently have a great deal – you can get 75% off CopyTrans 7 Pack. Information technology's cheaper than buying but two programs 😉
How to upload photos to iCloud from PC
via iCloud for Windows
How long does information technology have to upload photos to iCloud? Yous will never know if you utilise iCloud for Windows because there is no progress bar and the only way to know if your photos are in iCloud is to check using another device. Nonetheless, this program allows you to collaborate with iCloud in a unique way – through Windows File Explorer.
Advantages:
✔ iCloud for Windows allows to Select folders with images to upload.
Disadvantages:
❌ The Windows version of iCloud Photos does not upload .HEIC images;
❌ Can't upload video files;
❌ It is unclear how long it takes for photos to upload to iCloud;
❌ iCloud for Windows has unintuitive and confusing user interface;
❌ The app is unstable and buggy.
Follow the steps below to learn how to save photos to iCloud using iCloud.com:
- First of all, you demand to install iCloud for Windows.
- If you lot have Windows ten – apply Microsoft shop
- If yous have Windows 7 or 8 – download an installer from Apple tree.com
- Afterward the installation is completed, log in using your Apple ID.
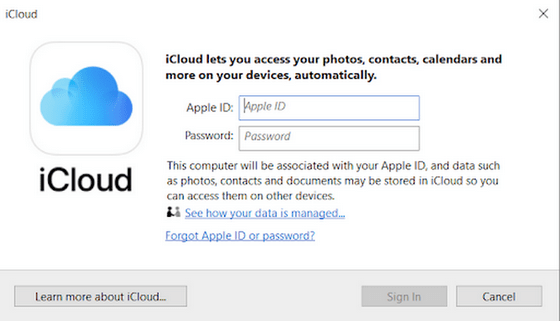
- If you have two-factor authentication enabled, y'all volition be prompted to verify your login with a code from your device.
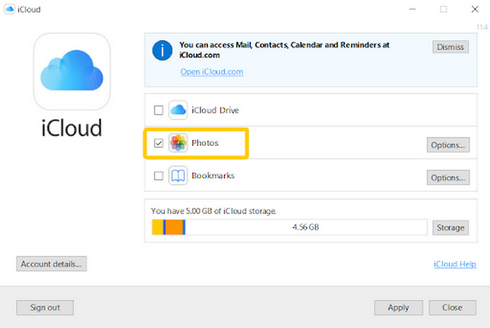
- Select the "Photos" selection and click on "Apply" to start the synchronization procedure.
- Open File Explorer. On the left side, you will see a new folder, "iCloud Photos".
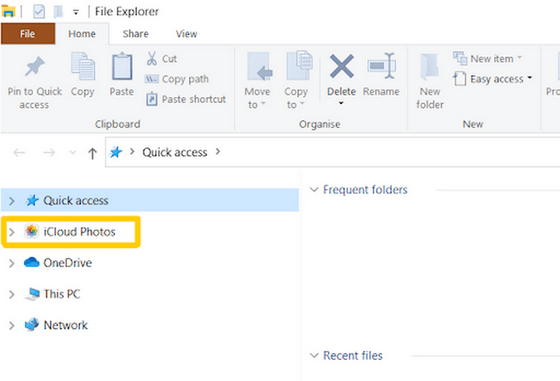
- Within the folder, you will come across all the photos currently synced to iCloud.
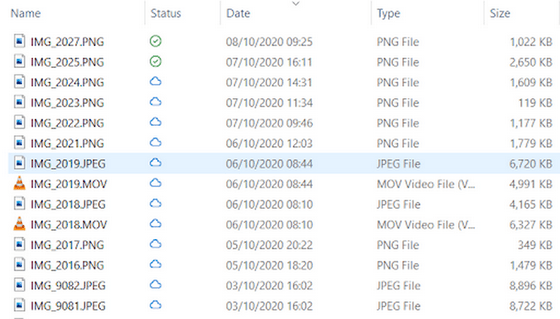
- Copy and paste .JPEG and .PNG files (or entire directories) within this folder, and they volition announced in iCloud shortly.
How to move photos to iCloud
via iCloud.com
The concluding pick to upload photos to iCloud from PC on our list allows y'all to collaborate with iCloud through your browser. Simply if yous are wondering why some of your iCloud photos are non uploading – it is because y'all can but upload .JPEG files.
Advantages:
✔ There is no need to install anything on your PC: just utilize any browser.
Disadvantages:
❌ Doesn't permit to select a folder;
❌ Can't upload video files;
❌ Only works with .JPEG images.
If you select this option:
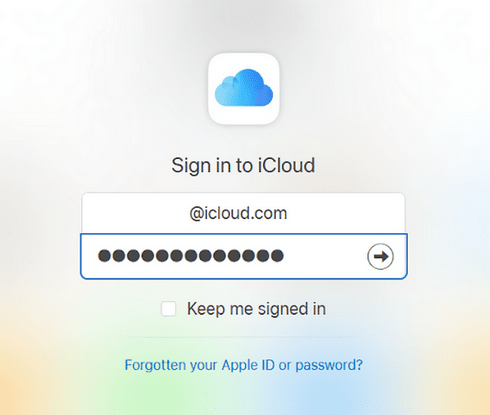
- Open up icloud.com.
- Sign in using your Apple ID.
- Select "Photos".

- Click on a deject icon in the upper-right corner.

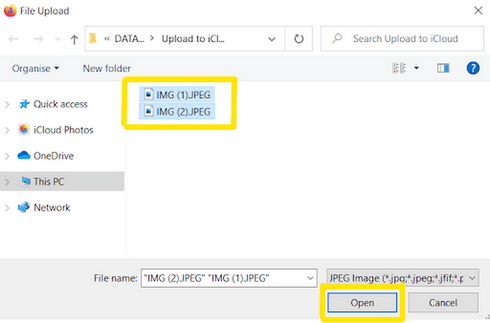
- Select the PC photos yous would like to upload and click on "Open up". In a couple of seconds, selected photos will be uploaded to the server.
This is how to upload files to iCloud from PC using iCloud.com.
Conclusion
Now you know how to add together photos to iCloud from PC in iii dissimilar ways. In the end, it all boils downward to what is more convenient for y'all. If you desire to easily sync photos to iCloud in batches – CopyTrans Cloudly is your selection; if you are not afraid of a confusing interface merely appreciate an opportunity to operate through File Explorer – choose iCloud for Windows; finally, if you prefer to use your browser, get with icloud.com.
Source: https://www.copytrans.net/blog/how-to-upload-photos-to-icloud-from-pc/
0 Response to "How to Upload to Icloud From Pc"
Post a Comment